Collection: IRON ON AND SEW ON PATCHES
WHAT TO KNOW ABOUT PATCHES- FROM WWW.GOODHOUSEKEEPING.COM
But first, what kind of material do iron-on patches adhere to?
You can iron patches onto a wide range of fabrics, including polyester, denim and more, but natural materials like cotton provide the best blank canvas. Keep in mind: Some materials, like leather or heat-sensitive synthetics, are prone to scorching and heat damage, so it's best to choose sew-on patches for any items with this type of more delicate construction.
How to iron on patches:
Ready to get started? Here's a quick step-by-step:
- Prep. First make sure that the backing of the patch is clear of any debris such as hairs, fuzz, lint or dirt. Next, you need to know what kind of fabric you are ironing the patch onto.
- Choose the right temperature. If you're putting a patch on apparel — jeans or a shirt, for example — follow the iron setting mentioned on the care tag. If there is no care tag, it's better to be safe than sorry, so use a lower heat, but keep the iron on the patch long enough for the adhesive back to melt and fuse with the fabric. We also recommend covering the patch with a piece of fabric or parchment paper before ironing so you don't burn it.
- Iron on. Depending on the size of the patch, try to use just the tip of the iron while adding on the patch. Start from the middle of the patch to act as an anchor and move out from there. Keep in mind that the adhesive backing on an iron-on patch needs to fully melt to then bond onto the fabric.
- Let it rest. Once you are sure that the adhesive has bonded, take the iron off of the patch, and let your fabric and patch rest and cool down a bit. After about 5 to 10 minutes, you can lift the fabric vertically and see if there are any spots where the patch hasn't fully fused. If necessary, repeat the process until the patch is fully bonded.
-
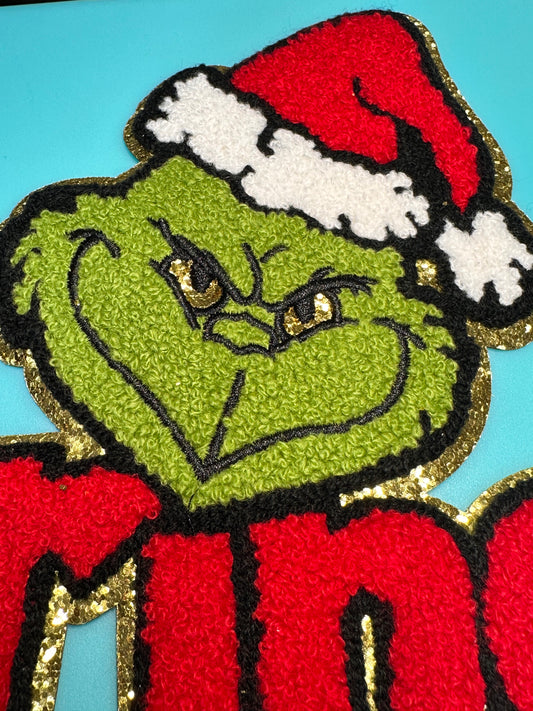
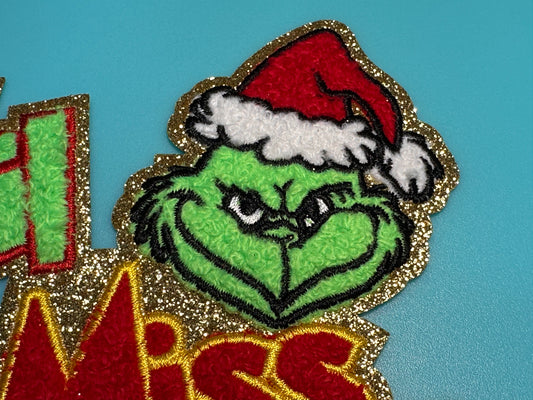
EVERYONES FAVORITE GROUCHY CHRISTMAS HATER PATCH LARGE APPROX. 11 X 7.5 -RED
Regular price $4.99 USDRegular priceUnit price / per$6.99 USDSale price $4.99 USDSale -
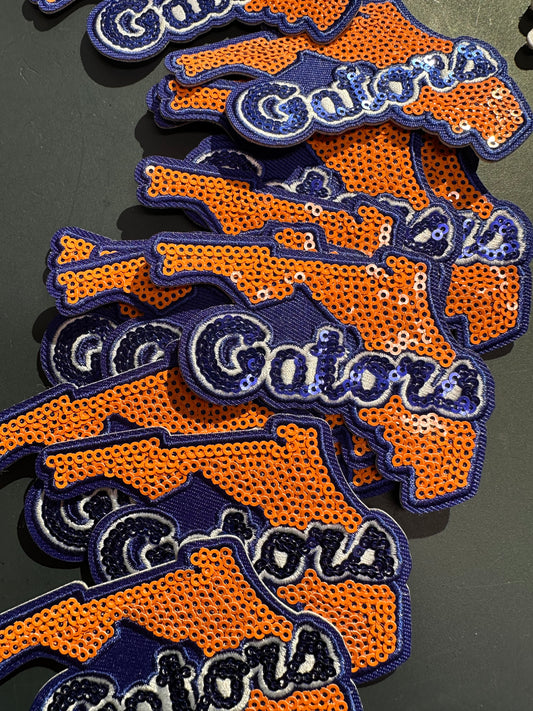
FLORIDA GATORS SEQUINED EMBROIDERED IRON ON PATCH/ SIZE APPROX 4" x 3"/ QUALITY MATERIAL/FABRIC PATCHES/FOOTBALL TEAM
Regular price $5.99 USDRegular priceUnit price / per$7.99 USDSale price $5.99 USDSale -
FOOTBALL EMBROIDERED IRON ON PATCH/ SIZE APPROX 4" ROUND/ QUALITY MATERIAL/FABRIC PATCHES/FOOTBALL TEAM
Regular price $5.99 USDRegular priceUnit price / per$7.99 USDSale price $5.99 USDSale -
Football Mama\ Chenille Iron on\ Approximately 9.5" x 3"
Regular price $4.99 USDRegular priceUnit price / per$7.99 USDSale price $4.99 USDSale -
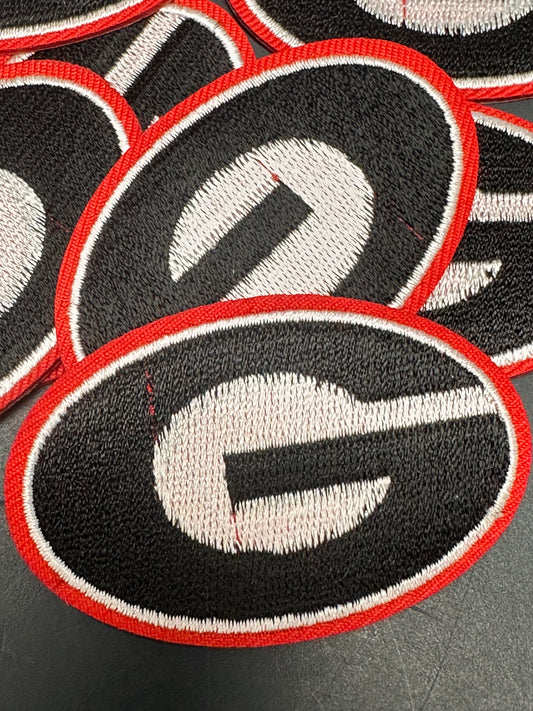
GEORGIA BULLDOGS /IRON ON PATCH/ SIZE SMALL/ QUALITY MATERIAL/FABRIC PATCHES/FOOTBALL TEAM
Regular price $1.99 USDRegular priceUnit price / per$3.99 USDSale price $1.99 USDSale -
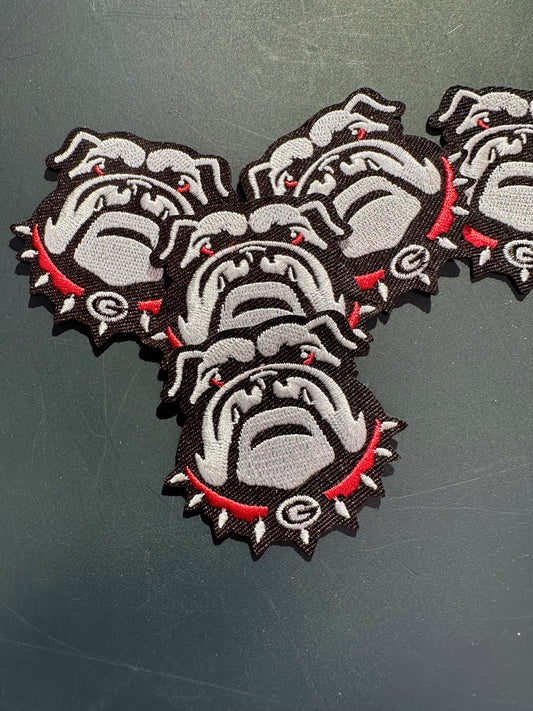
GEORGIA BULLDOGS BULLDOG HEAD /IRON ON PATCH/ SIZE SMALL/ QUALITY MATERIAL/FABRIC PATCHES/FOOTBALL TEAM
Regular price $2.99 USDRegular priceUnit price / per$3.99 USDSale price $2.99 USDSale -
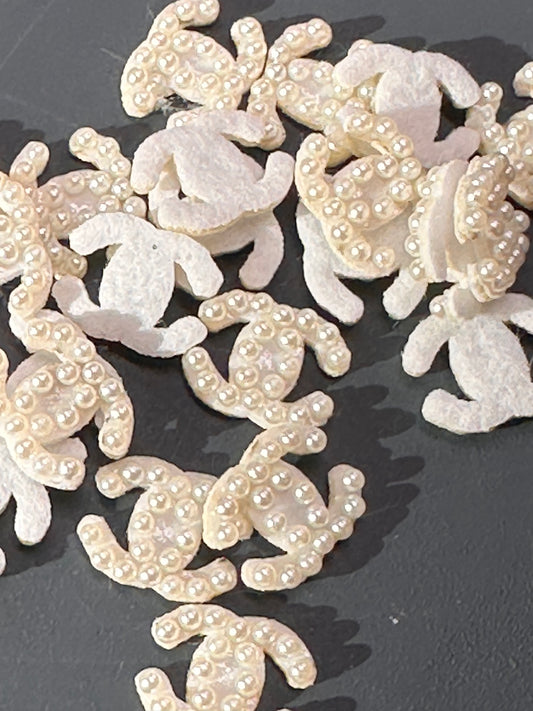
GLUE on Pearl and Rhinestone CC Appliques – design – Set of 5 Sparkling Embellishments for Crafts, Headbands, DIY
Regular price $3.99 USDRegular priceUnit price / per$3.99 USDSale price $3.99 USD -
GLUE on Pearl and Rhinestone Cherries Appliques – design – Set of 5 Sparkling Embellishments for Crafts, Headbands, DIY
Regular price $3.99 USDRegular priceUnit price / per$3.99 USDSale price $3.99 USD -
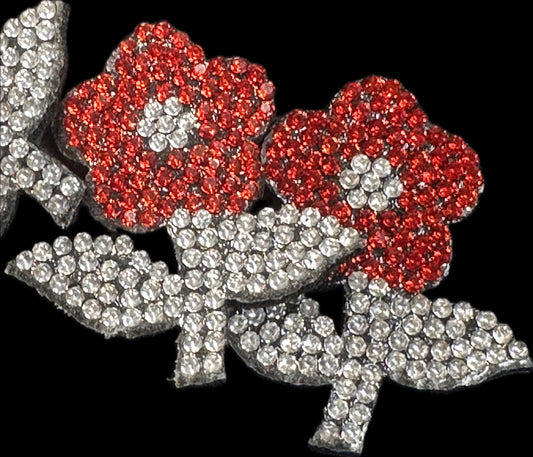
GLUE or sew on Rhinestone Flower Appliques – Red & Silver Crystal Fabric Flowers – Set of 5 Sparkling Embellishments for Crafts, Headbands, DIY
Regular price $4.99 USDRegular priceUnit price / per$3.99 USDSale price $4.99 USD -
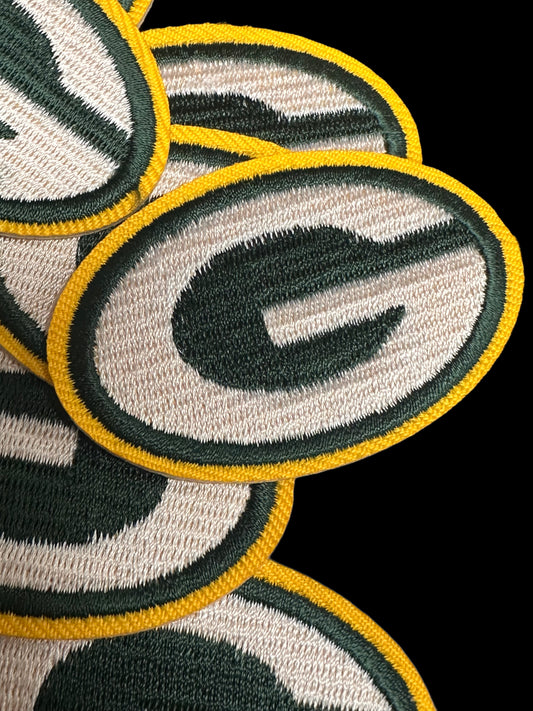
GREEN BAY/IRON ON PATCH/ SIZE SMALL/ QUALITY MATERIAL/FABRIC PATCHES/FOOTBALL TEAM
Regular price $1.99 USDRegular priceUnit price / per$3.99 USDSale price $1.99 USDSale -
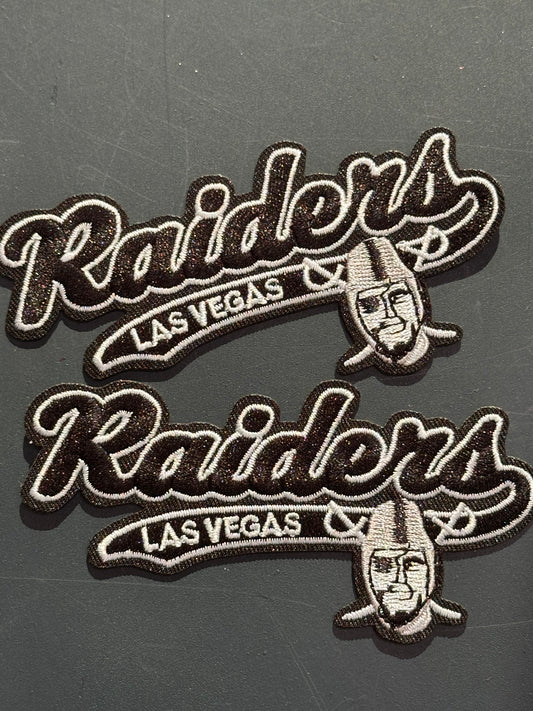
LAS VEGAS RAIDERS EMBROIDERED IRON ON PATCH/ SIZE APPROX 4" x 2"/ QUALITY MATERIAL/FABRIC PATCHES/FOOTBALL TEAM
Regular price $4.99 USDRegular priceUnit price / per$6.99 USDSale price $4.99 USDSale -
LIL MISS GRIN /EVERYONES FAVORITE GROUCHY CHRISTMAS HATER PATCH LARGE APPROX. 11 X 7.5 -RED
Regular price $4.99 USDRegular priceUnit price / per$6.99 USDSale price $4.99 USDSale -
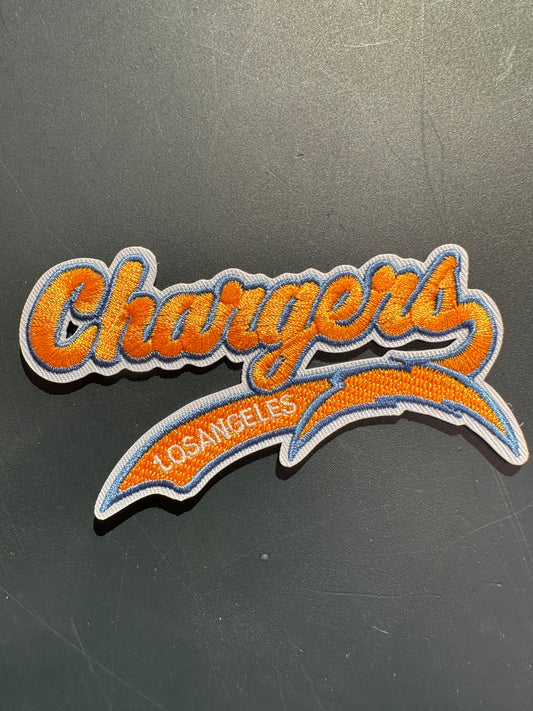
LOS ANGELES CHARGERS EMBROIDERED IRON ON PATCH/ SIZE APPROX 4" x 2"/ QUALITY MATERIAL/FABRIC PATCHES/FOOTBALL TEAM
Regular price $4.99 USDRegular priceUnit price / per$6.99 USDSale price $4.99 USDSale -
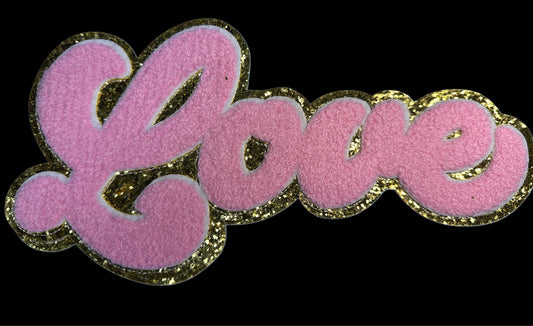
LOVE PINK AND GOLD PATCH LARGE APPROX. 5X9.5 -RED CHENILLE AND GOLD GLITTER
Regular price $4.99 USDRegular priceUnit price / per -
MERRY AND BRIGHT /CHRISTMAS PATCH XL SIZE -RED/ 12”x12” approximately
Regular price $7.99 USDRegular priceUnit price / per$9.99 USDSale price $7.99 USDSale -
MERRY GRINCHMAS /EVERYONES FAVORITE GROUCHY CHRISTMAS HATER PATCH MEDIUM SIZE -RED
Regular price $4.99 USDRegular priceUnit price / per$6.99 USDSale price $4.99 USDSale -
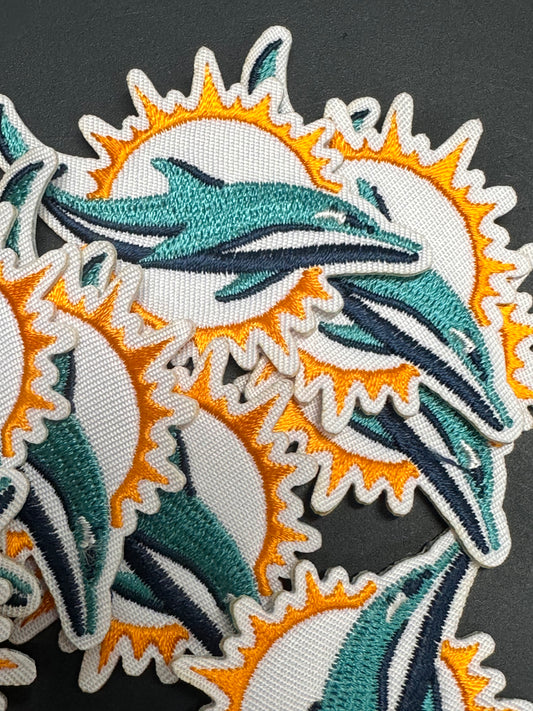
MIAMI DOLPHINS /IRON ON PATCH/ SIZE SMALL/ QUALITY MATERIAL/FABRIC PATCHES/FOOTBALL TEAM
Regular price $1.99 USDRegular priceUnit price / per$3.99 USDSale price $1.99 USDSale -
MOST FAMOUS/IRON ON PATCH/ MEDIUM SIZE APPROXIMATELY 6”x 8”/ CHOOSE BOTH, BOY OR GIRL PATCH!/ FABRIC PATCHES
Regular price From $4.99 USDRegular priceUnit price / per$6.99 USDSale price From $4.99 USDSale -
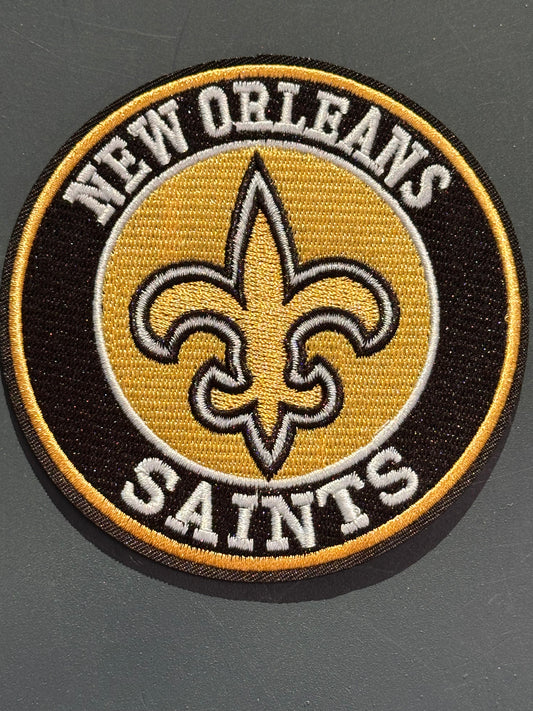
NEW ORLEANS SAINTS /EMBROIDERED IRON ON PATCH/ SIZE APPROX 4" ROUND/ QUALITY MATERIAL/FABRIC PATCHES/FOOTBALL TEAM
Regular price $5.99 USDRegular priceUnit price / per$7.99 USDSale price $5.99 USDSale -

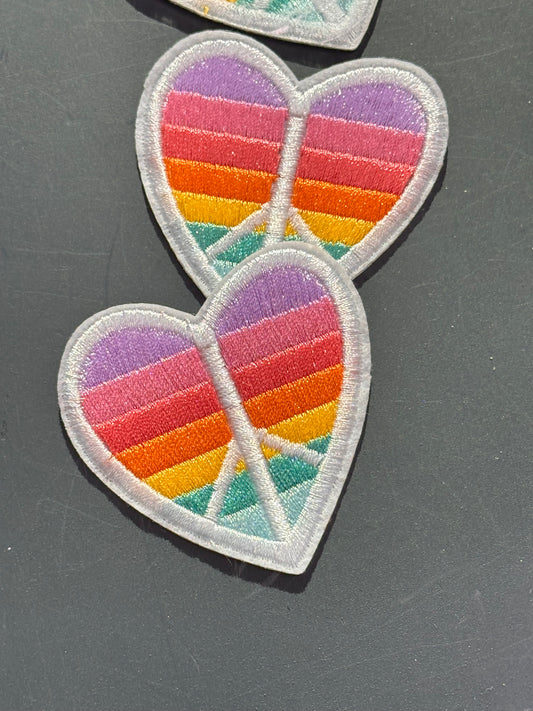
PEACE RAINBOW HEART EMBROIDERED IRON ON PATCH/ SIZE APPROX 3"x3"/ QUALITY MATERIAL/FABRIC PATCHES
Regular price $4.99 USDRegular priceUnit price / per$6.99 USDSale price $4.99 USDSale


